How to Transfer an eSIM to a New Phone
Learn how to transfer an eSIM to a new phone with step-by-step instructions for iPhone and Android, plus fixes for common eSIM activation and QR code issues.
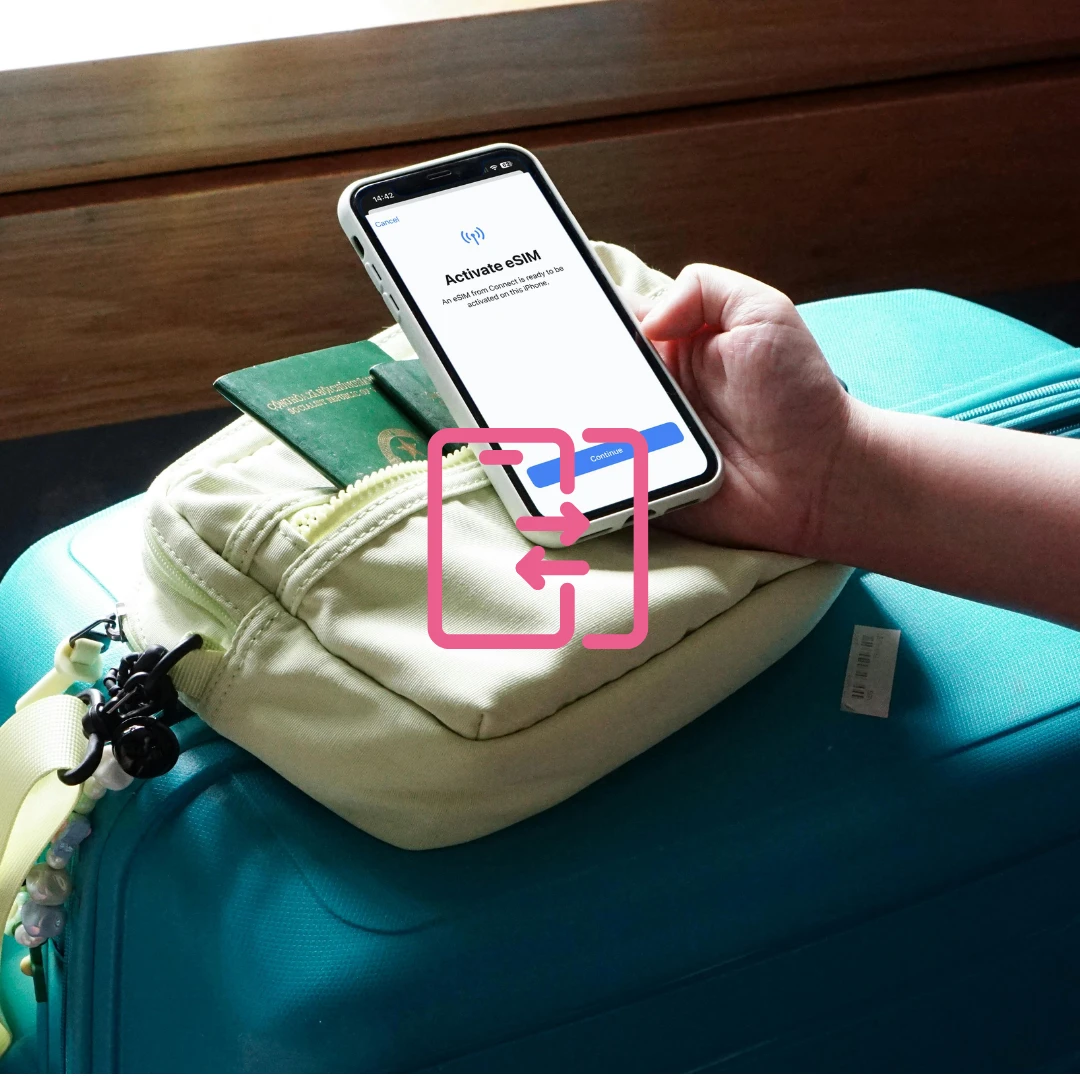
Upgrading your phone? Congratulations. Now, let's talk about your number - specifically your eSIM, which doesn't come with a tray to eject or a chip to slide into your new device.
Unlike physical SIM cards, eSIMs are built into your phone, securely encrypted, and tied to your device's unique ID. So transferring one isn't a matter of swapping plastic - it requires a few simple steps.
This guide will walk you through how to transfer your eSIM to a new phone, no matter what you're switching from or to. Whether you're moving between Android and iPhone, or staying within the same ecosystem, this article has it covered - step by step.
You'll also get:
- Helpful tips for dual SIM setups
- Real-world answers to common eSIM transfer issues
- External references from official sources for added trust
- Clarification on how gosimless makes eSIM transfers easy and secure
Let's get into it.
What is an eSIM?
An eSIM (short for embedded SIM) is a small chip that's built directly into your device's motherboard. It does the same job as a physical SIM card, but there are a few differences between a SIM and eSIM, authenticates you on a mobile network.
The benefits of eSIMs are huge:
- No physical SIM to lose, swap, or damage
- Instant activation, often via QR code
- Store multiple mobile plans on one device
- More secure, as it's tied to the phone's hardware
The rise of eSIM is real - especially since Apple removed SIM card trays entirely from iPhone 14 models sold in the US.
Why you can't just move an eSIM like a SIM card
This is where people get confused. With a traditional SIM card, you could pop it out of one phone and slide it into another. With an eSIM? Not quite. That's because:
- Each eSIM profile is locked to the hardware of the device it's installed on.
- eSIM profiles are encrypted and designed to be one-time activations.
- Transferring an eSIM typically requires either:
- A new QR code from your provider
- Or, in some cases, an automatic device-to-device transfer (iPhone only)
This isn't a limitation, it's a feature. The GSMA, which sets global standards for mobile networks, outlines that eSIM profiles follow strict security protocols, including encryption tied to a device's EID (Embedded Identity Document). You can learn more about these standards from the GSMA eSIM resource hub.
Pre-transfer checklist
Before transferring an eSIM to your new phone, make sure you've got the following sorted:
- Your new device supports eSIM:
- You've got an active internet connection
- Your phone is carrier unlocked (especially relevant for those using dual SIM)
eSIM transfer instructions by scenario
Scenario 1: Transfer eSIM from Android to iPhone
This is one of the more common transfers, especially as more people migrate to iOS.
Step 1: Request a new eSIM QR code from gosimless
Since eSIM QR codes are single-use, you'll need a new one.
- Log into your gosimless account
- Locate your plan > Select "Replace O2 eSIM" or "Replace Vodafone eSIM"
- Request a new QR code
- Your request is usually processed in under 1 business hour, but allow up to 24 hours just in case
Need help? Contact the gosimless support team directly via your dashboard - we respond fast.
Step 2: Delete the eSIM profile on your Android device
Removing the old eSIM ensures a clean slate.
- Go to: Settings > Network & Internet > SIMs
- Tap the active eSIM
- Choose “Delete”, “Remove”, or “Erase eSIM”
- Confirm the action
Deleting your eSIM doesn't cancel your number - it just deactivates it from that device.
Step 3: Install your eSIM on the iPhone device
Once your new QR code arrives:
- On iPhone, go to Settings > Mobile Data > Add eSIM
- Choose “Use QR Code”
- Scan your new gosimless QR
- Follow the prompts (set primary/secondary, label the line, etc.)
- Restart the phone if needed
If you're running iOS 17 or later, iPhones may offer to transfer eSIM from nearby Android, but most providers (including us) still require QR-based activation for this transfer. Apple explains this process in depth.
Scenario 2: Transfer eSIM from iPhone to Android
Here's how to go in the other direction.
Step 1: Request new QR code
As with all transfers, you'll need a fresh activation.
- Log into gosimless
- Select your plan
- Request a new QR code for Android setup
Step 2: Remove eSIM from iPhone device
- Go to: Settings > Mobile Data
- Tap your active eSIM
- Scroll down > “Remove Mobile Plan”
- Confirm
Step 3: Install on Android device
- Go to: Settings > Network & Internet > SIMs > Add eSIM
- Select “Use QR Code”
- Scan your new QR code
- Complete the prompts to label and activate
Some Android phones may label this as "Download SIM" or "Add carrier plan". Samsung has a helpful guide on this process .
Scenario 3: iPhone to iPhone
Apple supports eSIM Quick Transfer, which lets you move an eSIM without a QR code, as long as both devices are nearby.
- Start setting up your new iPhone
- When prompted, choose “Transfer eSIM from another iPhone”
- Keep the old phone nearby
- Follow the prompts (you'll need Face ID/Touch ID)
You can also do this later via: Settings > Mobile Data > Add eSIM > Transfer from nearby iPhone
Works on iPhones running iOS 16 and above.
🤖 Scenario 4: Android to Android
Some Android devices allow eSIM migration using tools like Samsung Smart Switch or Google's Data Transfer Tool, but this isn't guaranteed to work for all providers. To avoid issues, we recommend:
- Requesting a new QR code from gosimless
- Deleting the old eSIM
- Reinstalling it on your new Android phone
Common issues (and how to fix them)
QR code not working?
- Ensure the code hasn't already been used
- Make sure your camera is steady
- Try manually entering the details if prompted
Activation failed?
- Check your internet connection
- Confirm your phone is unlocked and supports eSIM
- Restart the phone and try again
🔁 Old device still shows eSIM as active?
- Always delete the eSIM manually
- If needed, reset network settings
Managing dual SIMs and multiple eSIMs
Modern smartphones allow:
- 2 active eSIMs (iPhone 13 and up)
- 1 eSIM + 1 physical SIM
- Store multiple eSIM profiles and switch between them
Useful for:
- Travelling (one local data plan + one home number)
- Work/life separation (two numbers, one phone)
eSIM security: Why it's safer
eSIMs are more secure than traditional SIMs:
- Can't be removed or stolen
- Must be verified with device security (Face ID, fingerprint)
- Activation profiles are encrypted and device-bound
The GSMA eSIM specification ensures profiles are protected by strong encryption, and remote provisioning follows global telecom security standards. More on GSMA's security standards.
gosimless with confidence
Switching phones used to mean juggling SIM cards, fiddly trays, and the stress of losing your number. With gosimless and eSIM, it's simple. What are you waiting for? Get a vodafone and o2 powered eSIM from yours truly.
You're in control. Whether you're moving from Android to iPhone, iPhone to Android, or just upgrading to the latest device, the process is secure, supported, and takes just minutes when you know the steps. You can also check out the gosimless blog page for more information on eSIMs, how they work and how to use them.
Need help? gosimless support is just a tap away.